

How To Replace Your Garage Door Rollers: A Step-By-Step Guide
Is your garage door rattling, squeaking, and annoying everyone? Those worn-out rollers are probably to blame. Replacing them is an easy DIY job that’ll have your door quiet and smooth again in no time.
Follow this simple guide and you’ll avoid having to call in the expert (and much handier) neighbor down the street:
Step 1: Gather Your Replacement Rollers and Tools
- New rollers specifically designed for your garage door model
- Wrench for removing track brackets and old rollers
- Lubricant - avoid WD40 as it attracts dirt!
- Ladder - elevate yourself like a pro
Step 2: Engage Safety Lock to Avoid Needing Facial Reconstruction
- With door fully closed, pull rope-like handle to engage safety lock
- This prevents the door from crushing you into oblivion
Step 3: Remove Track Brackets to Release the Rollers
- Climb up your ladder to reach track brackets
- Use your wrench to loosen and remove them
- Be careful not to dent your ego when dropping any loosened bolts
Step 4: Remove the Old Rollers
- With brackets detached, rollers should slide right off the track
- Watch those fingers!
Step 5: Install the Shiny New Rollers
- Slide new rollers onto the track one by one
- Confirm each spins smoothly
Step 6: Re-Attach Track Brackets
- Line brackets back up and re-tighten bolts with wrench
- High-five yourself on a job well done!
Step 7: Test It Out
- Disengage the safety lock
- Open and close the door to confirm it runs quietly
- Do a victory dance to celebrate your handiness
With a few simple tools and this easy guide, you can fix that noisy door and finally get some peace and quiet. That's one household project down, only 97 more on your honey-do list to go!
TOP SELLING PRODUCTS
-
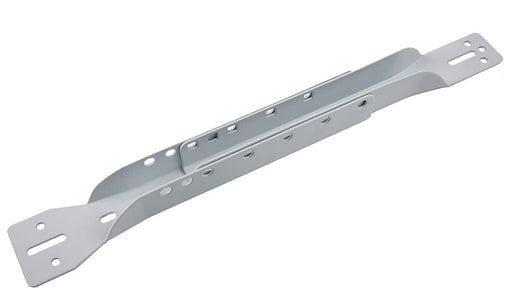
GarageDoorProject™ Replacement Part -Garage Door Operator Reinforcement Bracket- Adjustable for 18", 21", and 24" Sections- Powder Coated - Exclusive from GarageDoorProject ! -USA Vendor 100% OEM Manufacturers with New Production Dates.
Original price $0.00 - Original price $0.00Original price $0.00$65.99$65.99 - $65.99Current price $65.99In stockOur field-tested garage door operator bracket boasts commercial-grade quality, easily adjustable to fit various garage door sizes (18", 21"...
View full detailsOriginal price $0.00 - Original price $0.00Original price $0.00$65.99$65.99 - $65.99Current price $65.99 -
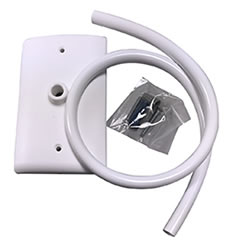
GarageDoorProject™ Replacement Part -GarageDoorProject US Direct - Wire Hide Kit;WHITE; provides a clean, professional look for Operator and Photo Eye Installations; with wall plate, 22" of black tubing, wire nuts, dry wall anchors, and screws.
Original price $44.95 - Original price $44.95Original price $44.95$51.99$51.99 - $51.99Current price $51.99In stockGarageDoorProject® presents the Replacement Wire Hide Kit in black, offering a sleek solution for concealing wires in Operator and Photo Eye Instal...
View full detailsOriginal price $44.95 - Original price $44.95Original price $44.95$51.99$51.99 - $51.99Current price $51.99 -


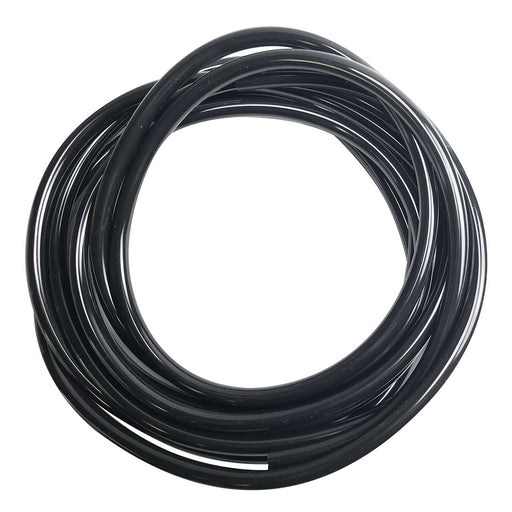
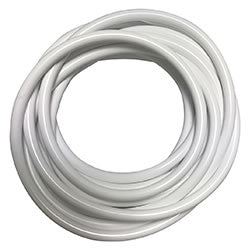
GarageDoorProject™ Replacement Part -GarageDoorProject US Direct -Wire Hide Tubing; White; 16' coil- Black -USA Vendor 100% OEM Manufacturers with New Production Dates.
Original price $48.96 - Original price $48.96Original price $48.96$56.99$56.99 - $56.99Current price $56.99In stockGarageDoorProject® offers the Replacement Wire Hide Tubing, a 16' coil in white or black, sourced directly from US vendors, boasting 100% OEM parts...
View full detailsOriginal price $48.96 - Original price $48.96Original price $48.96$56.99$56.99 - $56.99Current price $56.99 -
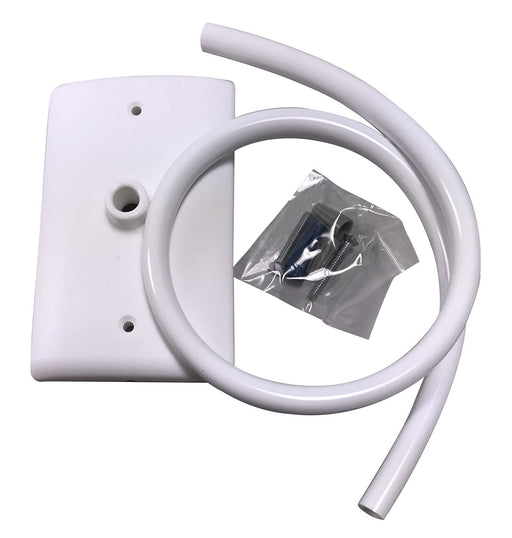
GarageDoorProject™ Replacement Part -GarageDoorProject US Direct - Wire Hide Kit; White; provides a clean, professional look for Operator and Photo Eye Installations; with wall plate, 22" of white tubing, wire nuts, dry wall anchors, and screws.
Original price $37.58 - Original price $37.58Original price $37.58$43.99$43.99 - $43.99Current price $43.99In stockGarageDoorProject® presents the Replacement Wire Hide Kit in white, offering a professional solution for concealing wires during operator and photo...
View full detailsOriginal price $37.58 - Original price $37.58Original price $37.58$43.99$43.99 - $43.99Current price $43.99 -
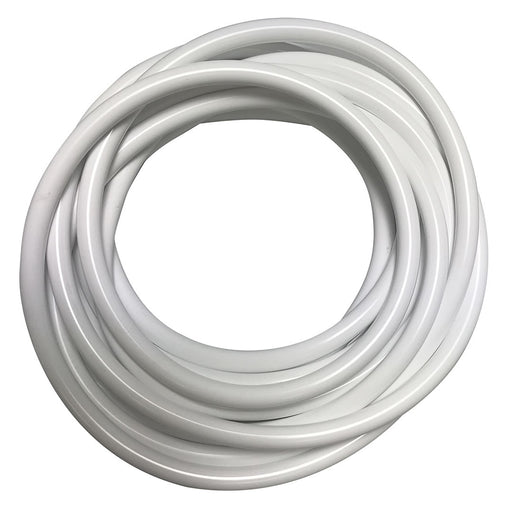
GarageDoorProject™ Replacement Part -GarageDoorProject US Direct - Wire Hide Tubing; White; 16' Coil- White -USA Vendor 100% OEM Manufacturers with New Production Dates.
Original price $48.96 - Original price $48.96Original price $48.96$56.99$56.99 - $56.99Current price $56.99In stockGarageDoorProject® presents Replacement Wire Hide Tubing in white, featuring a 16' coil for effectively concealing wires in garage door installatio...
View full detailsOriginal price $48.96 - Original price $48.96Original price $48.96$56.99$56.99 - $56.99Current price $56.99


